Singer Sewing Machine 5050c Manual: An Overview
Today, February 11th, 2026, at 1:05 PM, this manual provides essential guidance for operating and maintaining your Singer 5050c sewing machine effectively․
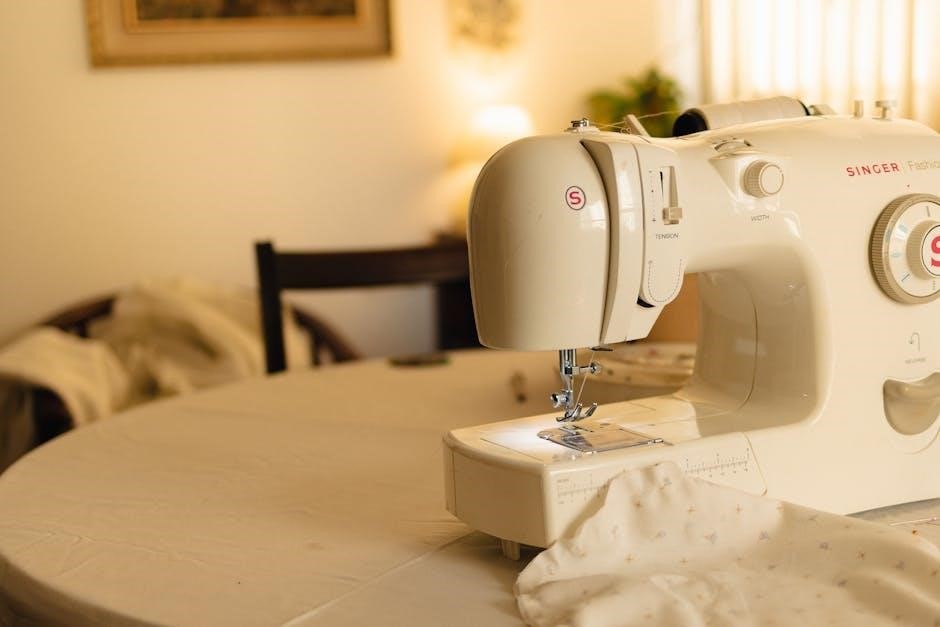
Today, February 11th, 2026, at 1:05 PM, the Singer 5050c is a popular computerized sewing machine known for its reliability and user-friendly design․ This machine caters to both beginners and experienced sewists, offering a balance of affordability and functionality․ It’s designed to handle a wide range of sewing projects, from simple alterations to more complex garment construction․
Understanding its features and proper operation, as detailed in this manual, will unlock its full potential․ Like addressing a sudden roof leak after a storm or snowmelt – requiring immediate action – mastering the 5050c demands a proactive approach to learning its capabilities․ This guide will help you avoid potential issues, similar to preventing water damage, and ensure a smooth and enjoyable sewing experience․
Key Features and Specifications
Today, February 11th, 2026, at 1:05 PM, the Singer 5050c boasts 100 built-in stitches, including decorative, stretch, and buttonhole options․ It features an automatic needle threader, adjustable stitch length and width, and a six-point feed dog system for even fabric feeding․ The machine’s speed is controlled electronically, reaching a maximum of 750 stitches per minute․
Similar to quickly assessing a roof leak’s source – be it from wind, snowmelt, or aging materials – understanding these specs is crucial․ It includes a drop-in bobbin system, a free arm for circular sewing, and a heavy-duty metal frame for durability․ Like a reliable roof protecting against the elements, the 5050c is built to withstand regular use, offering consistent performance for various projects․
Getting Started with Your 5050c
Today, February 11th, 2026, at 1:05 PM, prepare for seamless sewing; this section details initial setup, threading, and bobbin winding for optimal performance․
Threading the Machine
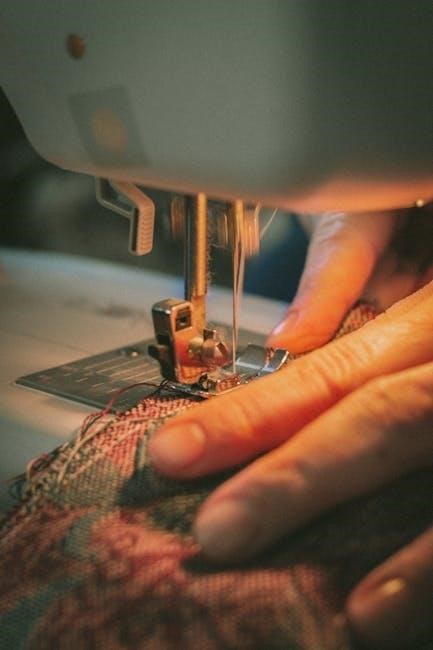
Today, February 11th, 2026, at 1:05 PM, proper threading is crucial for consistent stitch quality․ Begin by ensuring the machine is off and the presser foot is raised․ Place the spool of thread on the spool pin, securing it with a spool cap․ Guide the thread through the first thread guide, then down and around the tension disc – confirm the thread snaps into place․
Next, lead the thread up and through the take-up lever, ensuring it’s fully inserted․ Continue threading through the remaining thread guides, following the numbered diagram printed on the machine․ Finally, thread the needle from front to back․ A needle threader can assist if needed․ Always double-check that the thread is correctly seated in all guides and the needle eye for smooth operation and to prevent skipped stitches․
Winding the Bobbin
Today, February 11th, 2026, at 1:05 PM, winding a bobbin correctly ensures even stitching․ First, place the spool of thread on the spool pin and secure it․ Then, guide the thread through the designated thread guide for bobbin winding․ Next, wrap the thread several times around the empty bobbin, ensuring a secure start․
Place the bobbin onto the bobbin winder spindle and push it to the right to engage․ Gently press the foot pedal to start winding; the machine will automatically stop when full․ Remove the bobbin, cut the thread, and secure the end with a small piece of tape to prevent unraveling․ Consistent bobbin winding is vital for preventing tension issues and achieving professional-looking stitches․
Inserting the Bobbin
Today, February 11th, 2026, at 1:05 PM, proper bobbin insertion is crucial for smooth sewing․ Locate the bobbin case beneath the needle plate․ Gently lift the needle to its highest position using the handwheel․ Open the bobbin case cover and carefully insert the wound bobbin, ensuring the thread unwinds in the correct direction – typically counter-clockwise․

Guide the thread through the tension spring and then through the slot in the bobbin case․ Draw up a few inches of thread․ Close the bobbin case cover securely․ Finally, lift the presser foot and manually lower and raise the needle to pick up the bobbin thread․ Correct bobbin insertion prevents skipped stitches and ensures balanced thread tension․

Stitch Selection and Operation
Today, February 11th, 2026, at 1:05 PM, explore diverse stitch patterns, adjust length/width, and utilize the reverse function for secure seams and creative projects․
Understanding Stitch Patterns
Today, February 11th, 2026, at 1:05 PM, the Singer 5050c boasts a variety of stitch patterns catering to diverse sewing needs․ Beyond the standard straight and zigzag stitches, explore decorative options for embellishment․ The manual details each stitch’s purpose – from reinforcing seams with a reinforced zigzag to creating buttonholes with the dedicated buttonhole foot․
Understanding stitch density is crucial; adjust the stitch length for different fabric weights and applications․ A shorter stitch is ideal for delicate fabrics, while a longer stitch suits heavier materials․ The manual illustrates how each pattern appears on fabric, aiding in selection․ Experimentation is encouraged to discover unique effects and personalize projects․ Remember to test stitches on scrap fabric before applying them to your final garment or craft․
Adjusting Stitch Length and Width
Today, February 11th, 2026, at 1:05 PM, mastering stitch length and width adjustments unlocks the Singer 5050c’s full potential․ The manual clearly indicates the dials controlling these parameters․ Stitch length, measured in millimeters, dictates the distance between stitches; shorter lengths strengthen seams, while longer lengths are suitable for basting or gathering․
Width adjustments, particularly for zigzag stitches, determine the side-to-side deviation of the needle․ Wider settings create broader coverage, ideal for decorative applications or securing stretchy fabrics․ Always test adjustments on scrap fabric to ensure desired results․ Incorrect settings can lead to puckering or weak seams․ Refer to the manual’s stitch guide for recommended settings based on fabric type and project requirements․
Using the Reverse Stitch Function
Today, February 11th, 2026, at 1:05 PM, the reverse stitch function, crucial for securing seams, is easily activated on the Singer 5050c․ Typically, a dedicated lever or button initiates reverse sewing․ The manual emphasizes briefly pressing this control before reaching the seam’s end, then sewing backwards over a few stitches․
Releasing the control resumes forward stitching․ Consistent backstitching prevents unraveling and adds durability․ The length of the reverse stitch can often be adjusted; shorter reverse stitches are ideal for delicate fabrics, while longer ones suit heavier materials․ Practice on scrap fabric to achieve a neat, secure finish․ Improper use can create bulky seams, so follow the manual’s guidance carefully․
Advanced Features & Techniques
Today, February 11th, 2026, at 1:05 PM, explore thread tension adjustments, needle position control, and free arm sewing for enhanced creative possibilities․
Adjusting Thread Tension
Today, February 11th, 2026, at 1:05 PM, achieving balanced thread tension is crucial for quality stitches․ Incorrect tension leads to looping, puckering, or thread breakage․ The Singer 5050c features an adjustable tension dial, typically numbered․ Begin by threading the machine correctly, ensuring the presser foot is up․
Test stitch on a scrap fabric․ If the bobbin thread pulls to the top, decrease the upper tension (lower number)․ Conversely, if the needle thread pulls to the bottom, increase the upper tension (higher number)․ Make small adjustments – a single number at a time – and retest․ Consistent testing is key․ Remember different fabrics require different tension settings; heavier fabrics generally need higher tension․
Always refer to the manual’s tension chart as a starting point․ Proper tension ensures strong, even stitches and prevents fabric damage․
Using the Needle Position Control
Today, February 11th, 2026, at 1:05 PM, the Singer 5050c’s needle position control offers versatility for various sewing tasks․ This feature allows you to set the needle to stop in either the up or down position when the foot pedal is released․ For pivoting fabric, select the needle-down position; this keeps the needle embedded, enabling smooth turns without fabric shifting․
When finishing a seam, or lifting the presser foot, choose the needle-up position to avoid stitching into the fabric․ The control is usually a slider or button located near the needle area․ Experiment with both settings to understand their benefits․
Always double-check the position before starting to sew, especially when changing tasks․ Mastering this control enhances precision and efficiency in your sewing projects․
Free Arm Sewing
Today, February 11th, 2026, at 1:05 PM, the Singer 5050c features a convenient free arm, ideal for sewing cuffs, sleeves, pant legs, and other cylindrical items․ To utilize this feature, simply remove the extension table attached to the machine․ This creates a smaller sewing surface shaped like an arm, providing easy access to the fabric’s interior․
Ensure the correct presser foot is installed for optimal results․ A standard zigzag foot works well for most free arm applications․ Carefully maneuver the fabric around the arm, guiding it with your hands․
The free arm simplifies sewing difficult areas, offering greater control and precision․ Remember to adjust stitch settings as needed for the specific fabric and project․
Maintenance and Troubleshooting
Today, February 11th, 2026, at 1:05 PM, regular cleaning, proper lubrication, and addressing common issues will ensure your Singer 5050c operates smoothly․
Cleaning the Machine
Today, February 11th, 2026, at 1:05 PM, maintaining a clean Singer 5050c is crucial for optimal performance and longevity․ Begin by disconnecting the power supply before any cleaning procedure․ Regularly remove lint and debris from the bobbin area, feed dogs, and surrounding mechanisms using the provided brush․ A small vacuum cleaner attachment can also be helpful for reaching tight spaces․ Wipe down the exterior surfaces with a soft, damp cloth․ Avoid using harsh chemicals or abrasive cleaners, as these can damage the machine’s finish․ Pay particular attention to areas where thread and fabric fibers accumulate․ Consistent cleaning prevents build-up that can cause jams, skipped stitches, and reduced sewing quality․ Remember to clean after each use, or at least frequently, to keep your machine in top condition․
Oil Points and Lubrication
Today, February 11th, 2026, at 1:05 PM, proper lubrication is vital for the smooth operation of your Singer 5050c․ Refer to your manual for specific oil points – typically found around the bobbin area, hook, and motor shaft․ Use only Singer sewing machine oil; other oils can cause build-up and damage․ Apply oil sparingly, one drop at a time, to the designated points․ Avoid over-oiling, as excess oil attracts lint and debris․ After oiling, operate the machine slowly for a few minutes to distribute the lubricant․ Regular oiling, as recommended in the manual, prevents friction and wear, extending the machine’s lifespan․ Inspect oil points periodically and re-apply as needed․ Consistent lubrication ensures quiet, efficient sewing and prevents costly repairs․
Common Problems and Solutions
Today, February 11th, 2026, at 1:05 PM, encountering issues with your Singer 5050c is normal․ Thread bunching often indicates incorrect threading or tension․ Re-thread the machine carefully, following the manual’s diagrams․ If the bobbin case is jammed, remove it and clear any tangled threads․ Needle breakage can stem from using the wrong needle type for the fabric or a bent needle – replace it immediately․ Skipped stitches suggest a dull or damaged needle, or incorrect needle insertion․ Always use a new needle for each project․ If the machine is noisy, lubrication may be needed․ Consult the manual’s troubleshooting section for detailed solutions and diagrams․

Parts and Accessories
Today, February 11th, 2026, at 1:05 PM, familiarize yourself with the Singer 5050c’s components and explore compatible presser feet for enhanced sewing versatility․
Identifying Machine Parts
Today, February 11th, 2026, at 1:05 PM, understanding the Singer 5050c’s components is crucial for successful operation and maintenance․ Key parts include the power switch, handwheel, stitch selection dial, stitch length and width controls, presser foot, needle clamp, bobbin winder, and tension dials․ The faceplate displays stitch options, while the free arm facilitates cuff and sleeve sewing․ Locate the bobbin case and cover, essential for thread supply․ Familiarize yourself with the presser foot lever, which raises and lowers the foot․ The spool pin secures the thread spool, and the thread guides ensure smooth threading․ Identifying these parts allows for confident troubleshooting and accessory usage, maximizing your sewing experience with the 5050c․
Compatible Presser Feet
Today, February 11th, 2026, at 1:05 PM, the Singer 5050c boasts compatibility with a wide range of presser feet, expanding its sewing capabilities․ Essential feet include the all-purpose foot for standard sewing, a zipper foot for precise zipper insertion, and a buttonhole foot for creating consistent buttonholes․ Additional options encompass a blind hem foot, satin stitch foot, and gathering foot․ For decorative stitching, consider the open toe foot․ Quilters benefit from a walking foot for even fabric feeding․ These feet easily attach via the snap-on shank, offering quick changes․ Utilizing the correct foot enhances stitch quality and simplifies various sewing projects, unlocking the full potential of your 5050c machine․
Optional Accessories
Today, February 11th, 2026, at 1:05 PM, several optional accessories can significantly enhance your Singer 5050c experience․ Consider a needle threader for easier setup, especially for those with visual impairments․ Extension tables provide a larger work surface for quilting or handling bulky fabrics․ Various presser feet, beyond the standard set, cater to specialized tasks like cording, pintucks, or embroidery․ A seam ripper is invaluable for correcting mistakes․ Furthermore, lint brushes and machine oil are essential for maintenance․ These additions, while not mandatory, streamline projects and extend the machine’s lifespan․ Explore Singer’s official website or authorized dealers for a complete catalog of compatible accessories․

Safety Precautions
Today, February 11th, 2026, at 1:05 PM, always prioritize safety; disconnect power before maintenance, avoid needle breakage, and ensure proper electrical grounding․
General Safety Guidelines
Today, February 11th, 2026, at 1:05 PM, operating your Singer 5050c requires diligent adherence to safety protocols․ Always disconnect the machine from the power source before performing any maintenance, threading, or changing the needle․ Never pull or push the fabric while the needle is in the down position – this can cause the needle to break or damage the machine․ Keep fingers away from moving parts, particularly the needle, presser foot, and handwheel․
Ensure adequate lighting in your sewing area to prevent eye strain and maintain clear visibility․ Avoid using the machine if the power cord or plug is damaged․ Do not attempt to repair electrical components yourself; seek qualified service․ Supervise children when they are near the sewing machine, and store it in a safe location when not in use․ Regularly inspect all parts for wear and tear, replacing them as needed to maintain optimal performance and safety․
Electrical Safety
Today, February 11th, 2026, at 1:05 PM, prioritizing electrical safety is crucial when using your Singer 5050c․ Always verify the voltage indicated on the machine matches your household supply before plugging it in․ Never operate the machine with a damaged power cord or plug – replace them immediately․ Avoid using extension cords if possible; if necessary, ensure it’s appropriately rated for the machine’s power consumption․
Keep the machine away from water and damp environments to prevent electric shock․ Do not attempt to disassemble or repair electrical components yourself; contact a qualified technician for any electrical issues; Always unplug the machine before cleaning or changing parts․ Ensure the power switch is in the “off” position before plugging or unplugging the machine․ Regularly inspect the power cord for any signs of damage or fraying, and discontinue use if any are found․
Avoiding Needle Breakage
Today, February 11th, 2026, at 1:05 PM, preventing needle breakage with your Singer 5050c extends the machine’s lifespan and ensures smooth sewing․ Always use the correct needle type and size for the fabric you’re working with – heavier fabrics require stronger needles․ Ensure the needle is fully inserted and properly tightened․ Avoid sewing over pins, as this is a common cause of breakage․
Never pull or push the fabric while sewing; let the machine feed the fabric naturally․ Regularly check the needle for bends, dullness, or damage, replacing it as needed․ Proper threading is vital; incorrect threading can strain the needle․ Adjust the presser foot pressure appropriately for the fabric thickness․ Avoid excessive speed, especially when starting or stopping, as sudden movements can stress the needle․ Finally, ensure correct tension settings to prevent undue strain․