Understanding Bra Sizing: A Comprehensive Guide
Navigating the world of bras can be tricky! This guide simplifies bra measurement‚ explaining how band circumference and bust fullness determine the perfect fit for comfort and support.
The Importance of Accurate Bra Measurement
Achieving a proper bra fit is paramount for both physical comfort and overall well-being. Many women are unaware they’re wearing the incorrect size‚ leading to discomfort‚ back pain‚ and even skin irritation. Accurate measurement ensures the band provides the majority of the support‚ typically around 80-90%‚ while the cups correctly encapsulate breast tissue.
Incorrectly sized bras can cause issues like digging straps‚ a band that rides up‚ or spillage. Understanding that bra sizes aren’t standardized across brands is crucial; a size 34C in one store might fit differently in another. Furthermore‚ breast shape significantly impacts fit‚ requiring adjustments beyond simple measurements. A professional fitter considers these nuances.
Regular re-measurement is also vital‚ as bodies change over time due to weight fluctuations‚ hormonal shifts‚ or even simply aging. Ignoring these changes can result in a consistently ill-fitting bra‚ negating the intended support and comfort. Prioritizing accurate measurement is an investment in your daily comfort and long-term health.
Why Bra Sizes Change
Fluctuations in bra size are incredibly common and rarely indicate a problem with the bra itself. Several factors contribute to these changes‚ making regular re-measurement essential. Weight gain or loss is a primary driver‚ altering both band and bust measurements. Hormonal shifts‚ particularly during menstruation‚ pregnancy‚ and menopause‚ can cause breast tissue to swell or shrink.
Even daily fluctuations occur due to water retention and bloating. Gravity also plays a role over time‚ causing breast tissue to change shape and descend‚ impacting how it fills a cup. This is why measuring both standing and bending over provides a more accurate range. Furthermore‚ changes in fitness levels and muscle mass can subtly alter ribcage circumference.
It’s important to remember that bra sizes are not static. A bra that fit perfectly six months ago may no longer be ideal. Ignoring these changes can lead to discomfort and poor support. Embrace the fact that your size will evolve‚ and prioritize regular fittings to maintain optimal comfort and fit.
Taking Accurate Measurements
Precise measurements are the foundation of a well-fitting bra. Follow these steps carefully‚ using a soft measuring tape‚ to determine your band and bust sizes accurately for optimal support.
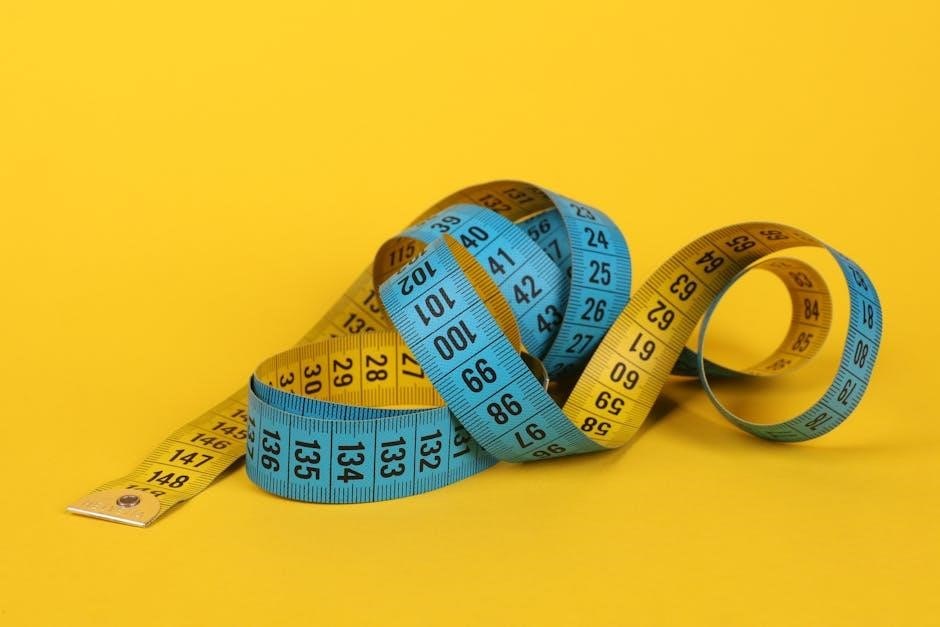
Tools You’ll Need: A Soft Measuring Tape
The cornerstone of accurate bra sizing is a reliable‚ flexible measuring tape. Forget metal tapes – they won’t conform to your body’s curves! A soft fabric or vinyl tape is essential for capturing precise measurements without discomfort or distortion. Ensure the tape isn’t stretched taut while measuring; it should lie flat against your skin‚ but not dig in.
Before you begin‚ make sure the tape measure is in good condition. Check for any fraying or damage that might affect its accuracy. A clear‚ easy-to-read marking system is also beneficial‚ allowing you to quickly and confidently note your measurements in inches or centimeters – whichever you prefer‚ just be consistent throughout the process.
Having a pen and paper readily available is also crucial for recording your band and bust measurements immediately. Don’t rely on memory! Accurate documentation is key to finding your correct bra size and avoiding frustration during the fitting process. A mirror can also be helpful to ensure the tape is positioned correctly around your body.
Step 1: Measuring the Band Size
Determining your band size is the foundation of a well-fitting bra. This measurement represents the circumference of your ribcage directly under your breasts‚ where the bra band will sit. Stand naturally and breathe normally – don’t suck in your stomach or puff out your chest‚ as this will distort the measurement.
Wrap the measuring tape snugly‚ but not tightly‚ around your torso‚ ensuring it’s level all the way around. The tape should be parallel to the floor. Note the measurement in inches. This initial measurement is crucial‚ but it’s not your final band size yet! It needs a slight adjustment to account for standard bra band increments.
Remember‚ bra band sizes typically come in even numbers. Therefore‚ you’ll need to round your measurement to the nearest even number. This rounding process ensures you select a band size that aligns with standard bra sizing conventions‚ leading to a more comfortable and supportive fit.
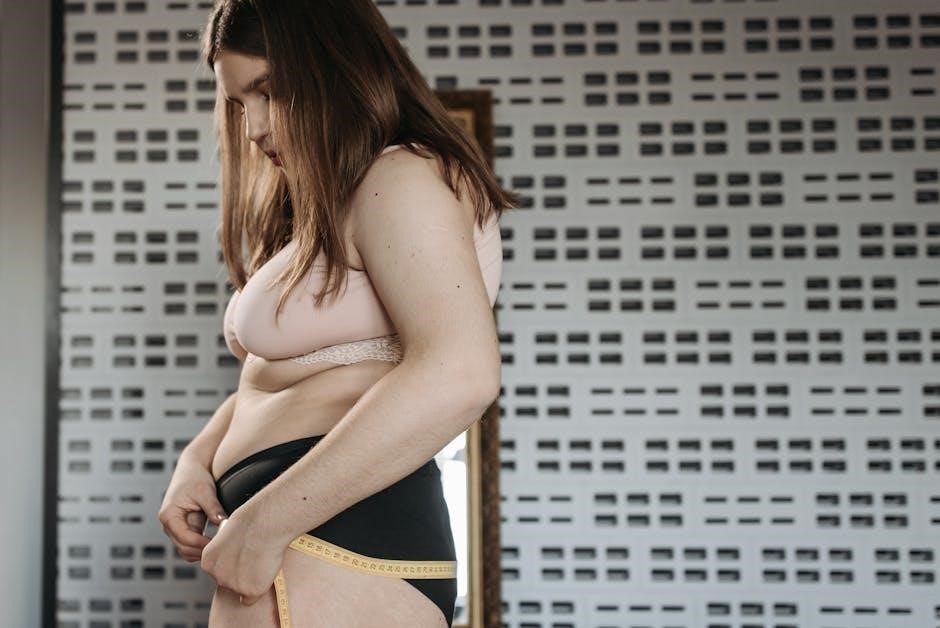
Measuring Under the Bust
Accurately measuring under your bust is paramount for determining your correct bra band size. Begin by standing in a relaxed‚ natural posture‚ ensuring your arms are down at your sides. This prevents any tension from altering the measurement. Position the measuring tape directly beneath your breasts‚ tracing the curve of your ribcage.
The tape should sit snugly against your skin‚ but avoid pulling it so tightly that it constricts your breathing or compresses your ribcage. Maintain a level position of the tape measure all the way around your torso‚ ensuring it doesn’t ride up in the back or dip down in the front. This levelness is critical for an accurate reading.
Take a deep breath and exhale normally while reading the measurement. Record this number in inches. This underbust measurement serves as the base for calculating your band size‚ and it’s essential to be as precise as possible during this step for optimal bra fit.
Rounding to the Nearest Even Number
Once you’ve obtained your underbust measurement‚ the next step is crucial: rounding to the nearest even number. Bra band sizes are typically offered in even numbers – 28‚ 30‚ 32‚ 34‚ and so on. This standardization ensures a better fit and wider availability of options.

If your initial underbust measurement is an odd number‚ you’ll need to round it up or down to the closest even number. For example‚ if your measurement is 29 inches‚ you would round up to 30 inches. Conversely‚ if your measurement is 31 inches‚ you would round down to 30 inches;
This rounding process is essential because bra bands are designed to provide support and stability‚ and an even number ensures a more consistent and comfortable fit. The rounded number then directly corresponds to your bra band size. Remember‚ a properly fitted band provides the majority of the bra’s support‚ so accuracy here is key!
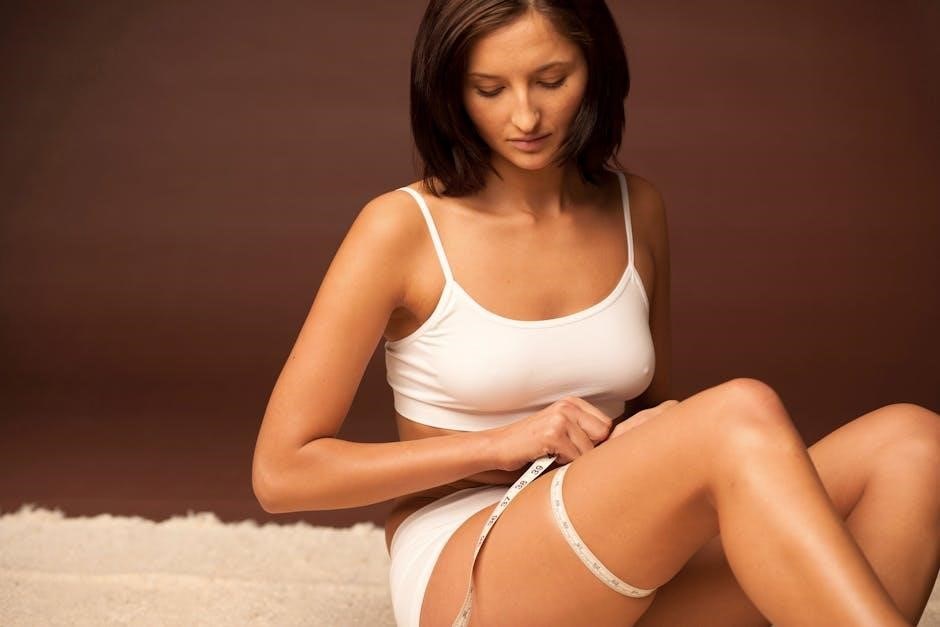
Step 2: Measuring the Bust Size
Now that you’ve determined your band size‚ it’s time to measure your bust circumference. This measurement will help determine your cup size‚ completing the initial bra size calculation. Ensure you’re wearing a non-padded bra that fits reasonably well for the most accurate results – avoid push-up or minimizing styles.
Wrap the measuring tape around your back and bring it across the fullest part of your bust. This is typically across the nipples‚ but can vary depending on breast shape. The tape should be level all the way around your body‚ and not too tight – it should be snug but comfortable.
It’s important to note that bust measurement can vary depending on your posture. We’ll explore measuring both while standing and bending over to account for tissue displacement‚ providing a more comprehensive understanding of your true bust size.

Measuring at the Fullest Point
Locating your fullest point is crucial for an accurate bust measurement. This isn’t necessarily directly at your nipple; it’s the point where your breasts project outwards the most. For many‚ this is slightly lower than the nipple‚ and can vary based on breast shape and gravity’s effect on tissue distribution.

Position the measuring tape so it encircles your back and then extends across the front‚ capturing the fullest part of your bust. Ensure the tape is level – a slightly angled tape can significantly alter the measurement. Don’t pull the tape too tightly; it should be snug but not compressing your breasts.
Take a deep breath and exhale normally while taking the measurement. Holding your breath can cause tension and an inaccurate reading. Record this measurement in inches‚ as it will be used in the subsequent calculation to determine your cup size. Remember‚ precision is key!
Measuring While Standing and Bending
Taking two bust measurements – one standing and one bending – provides a more comprehensive understanding of your bust volume. Stand naturally with your arms relaxed at your sides. Measure around your back and across the fullest part of your bust‚ as previously described‚ recording this as your ‘standing’ measurement.
Next‚ gently bend forward at the waist approximately 90 degrees‚ allowing your breasts to fall naturally. This simulates how your breasts sit when gravity is acting upon them. Remeasure around your back and across the fullest point‚ ensuring the tape remains level. This is your ‘bending’ measurement.
The difference between these two measurements helps account for variations in breast shape and tissue density. Some individuals may find their actual size falls between the standing and bending measurements‚ offering a more personalized fit assessment. Record both measurements carefully for accurate bra size calculation.
Calculating Your Bra Size
Determining your bra size involves a simple calculation! Subtract your band measurement from your bust measurement to find the difference in inches‚ which then corresponds to your cup size.
The Basic Formula: Bust Measurement ─ Band Measurement
The cornerstone of bra size calculation lies in a straightforward formula: Bust Measurement minus Band Measurement. This difference‚ expressed in inches‚ unlocks the key to determining your correct cup size. It’s a fundamental step‚ yet crucial for achieving a comfortable and supportive fit. Remember‚ the band provides the majority of the support – typically around 80-90% – so an accurate band measurement is paramount.
This calculation isn’t merely about numbers; it’s about understanding how your unique body shape translates into bra sizing. The resulting difference isn’t a fixed value‚ but rather a guide. Variations in breast shape and tissue density can influence the final fit. Some individuals may find their actual size falls between measurements taken standing versus bending‚ highlighting the importance of both methods.
Essentially‚ this formula establishes the proportional relationship between your band and bust‚ allowing you to navigate the world of cup sizes with greater confidence. It’s the starting point for a journey towards finding a bra that truly fits and flatters.
Decoding Cup Sizes (Difference in Inches)
Once you’ve calculated the difference between your bust and band measurements‚ you can decode your cup size. Each cup letter represents a one-inch difference between the bust and band measurements; An ‘A’ cup signifies a one-inch difference‚ a ‘B’ cup indicates a two-inch difference‚ and so on. This progression continues through the alphabet‚ with each subsequent letter adding an inch to the difference.
Understanding this system is vital because cup sizes aren’t standardized across all brands. A ‘C’ cup in one brand might fit differently than a ‘C’ cup in another. Therefore‚ knowing the numerical difference allows you to better assess the fit‚ regardless of the letter assigned. It’s a valuable tool for navigating inconsistencies.
Keep in mind that this is a general guideline. Breast shape and volume can influence how a cup fits. Some individuals may require a sister size (explained elsewhere) to achieve optimal comfort and support. This decoding process provides a foundational understanding‚ but personal fit is always paramount.
Understanding Sister Sizes
Sister sizes are bras that have the same cup volume but different band sizes. They’re incredibly useful when your calculated size isn’t readily available or doesn’t quite fit right. To find your sister size‚ you can either go up a band size and down a cup size‚ or down a band size and up a cup size‚ while maintaining the same overall volume.
For example‚ a 34C has sister sizes of 32D and 36B; This means if a 34C feels too tight in the band‚ you might try a 36B. Conversely‚ if it feels too loose‚ a 32D could be a better fit. Understanding sister sizes expands your options and increases your chances of finding a comfortable bra.
This knowledge is particularly helpful when dealing with varying brand sizing. Since sizes aren’t standardized‚ a sister size might fit better in a different brand than your initially calculated size. Don’t hesitate to experiment with sister sizes to achieve the perfect fit!
Bra Fit Issues and Solutions
Common problems include bands that are too tight or loose‚ and cups that don’t fully contain breast tissue. Addressing these issues ensures optimal support and comfort.
Common Fit Problems: Band Too Tight/Loose
A band that’s too tight creates discomfort‚ digs into your skin‚ and can cause back fat spillage. It often leads to shoulder strap slippage as you compensate for the restricted band. Conversely‚ a band that’s too loose doesn’t provide adequate support‚ causing the breasts to sag and the bra to ride up in the back.
The band should feel snug but not constricting‚ remaining level all the way around your torso. It should offer the majority of the bra’s support – ideally around 80-90%. If you can easily slip more than two fingers under the band‚ it’s likely too loose. If it feels painful or leaves red marks‚ it’s too tight.
Remember‚ band size is measured in even numbers. Sister sizing is crucial here; if your calculated band size feels off‚ try going up or down a band size and adjusting the cup accordingly to maintain the correct overall volume. A properly fitted band is the foundation of a comfortable and supportive bra.
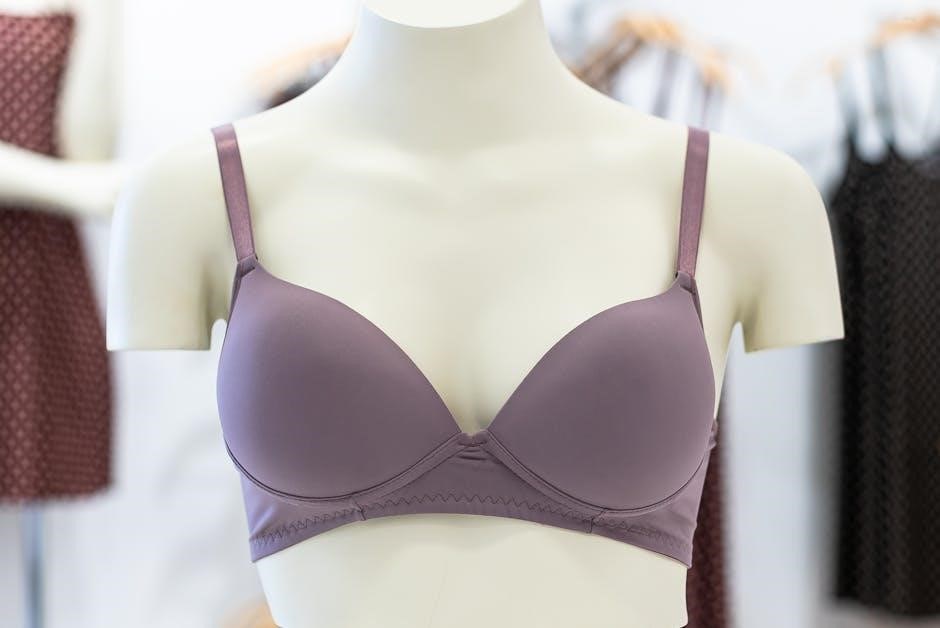
Common Fit Problems: Cups Too Small/Large
Cups that are too small cause spillage – breast tissue overflowing at the top or sides – and can create a “quad-boob” effect. They also dig into the breasts‚ causing discomfort and potentially leaving marks. Straps will often dig into shoulders as they compensate for lack of support.
Cups that are too large result in gaping‚ where there’s empty space between your breast and the cup fabric. This leads to a less flattering silhouette and reduced support. The bra may also ride up in the front.
Ensure your breasts completely fill the cups without spillage or gaping. The underwire (if present) should lie flat against your chest. Remember‚ cup size is relative to the band size; a larger band size often requires a smaller cup size‚ and vice versa. Sister sizing can help find the right balance. Don’t rely solely on letter size; focus on how your breasts feel within the cup.
Addressing Gore and Center Band Issues
The gore – the center panel between the cups – is crucial for support and shape. It should lie flat against your sternum‚ not lift off or dig in. A riding-up gore indicates cups that are too small‚ while a gaping gore suggests cups that are too large. Adjusting the band can sometimes resolve minor gore issues.
The center band should remain level around your torso‚ providing consistent support. If it rides up in the back‚ the band is likely too loose. Conversely‚ if it digs in uncomfortably‚ it’s too tight. Tightening the straps won’t fix a band fit issue; you need to adjust the band size.
A properly fitted bra’s center band distributes weight evenly. Regularly check that both the gore and band remain stable throughout the day. Consider trying different bra styles‚ as some designs better accommodate varying breast shapes and sizes.
Beyond the Numbers: Considering Breast Shape
Breast shape significantly impacts fit! Understanding your unique form – whether rounded‚ teardrop‚ or asymmetrical – is vital for selecting bras that provide optimal support and a flattering silhouette.
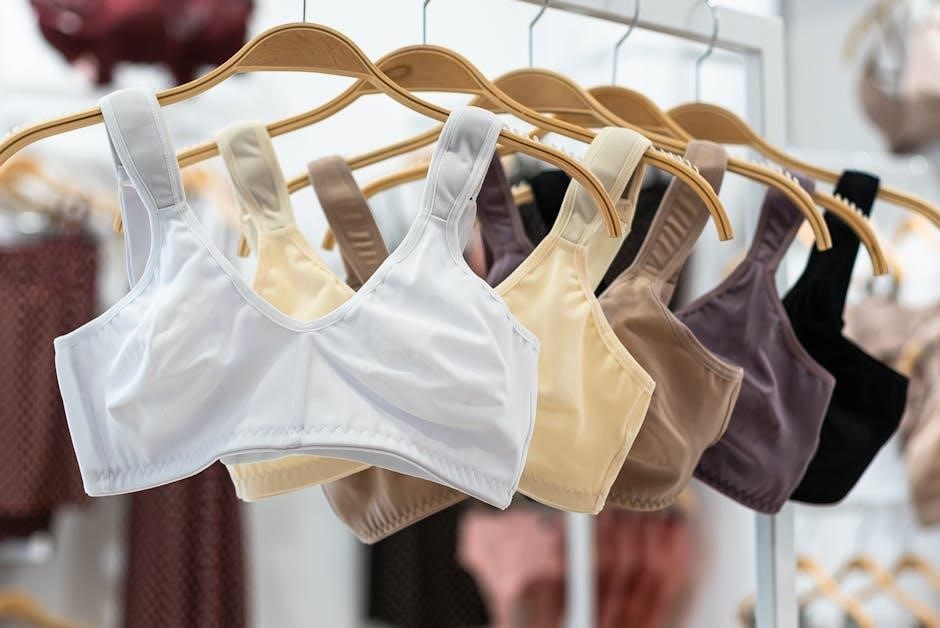
Different Breast Shapes and Their Fit Needs
Understanding your breast shape is crucial for finding a well-fitting bra. Not all breasts are created equal‚ and recognizing your unique form allows for a more comfortable and supportive experience. Common shapes include rounded (full and symmetrical)‚ teardrop (fuller on the bottom)‚ shallow (wider set‚ less projection)‚ and asymmetrical (one breast larger than the other – very common!).
Rounded breasts generally do well in most bra styles‚ but a full-coverage cup can provide excellent support. Teardrop shapes benefit from bras with a lower center gore and potentially a plunge neckline to enhance cleavage. Shallow breasts often require padding or contour cups to create a more defined shape‚ and side support can prevent widening.
For asymmetrical breasts‚ it’s perfectly acceptable to wear different sizes in each cup! Alternatively‚ padded inserts can be used in the smaller cup to create balance. A professional bra fitter can expertly assess your shape and recommend styles that address your specific needs‚ considering gravity’s effect on tissue and ensuring a comfortable‚ flattering fit.
The Role of a Professional Bra Fitter
Seeking guidance from a professional bra fitter can be transformative. While online calculators and self-measurement are helpful starting points‚ a skilled fitter offers personalized expertise that goes beyond numbers. They possess in-depth knowledge of varying breast shapes‚ band and cup construction‚ and how different styles interact with individual bodies.
A fitter doesn’t just measure; they observe. They assess how your breasts sit‚ how the band feels‚ and identify potential fit issues you might not notice yourself. They understand that factors like gravity and tissue distribution impact measurements and can adjust recommendations accordingly. Finding a knowledgeable fitter‚ though sometimes challenging‚ is invaluable‚ especially for those with less common sizes.
They can guide you through trying on different styles‚ explaining the nuances of each‚ and ensuring the bra provides optimal support and comfort. A good fitter prioritizes your well-being‚ helping you discover a bra that enhances your shape and boosts your confidence‚ ultimately leading to a more positive experience.
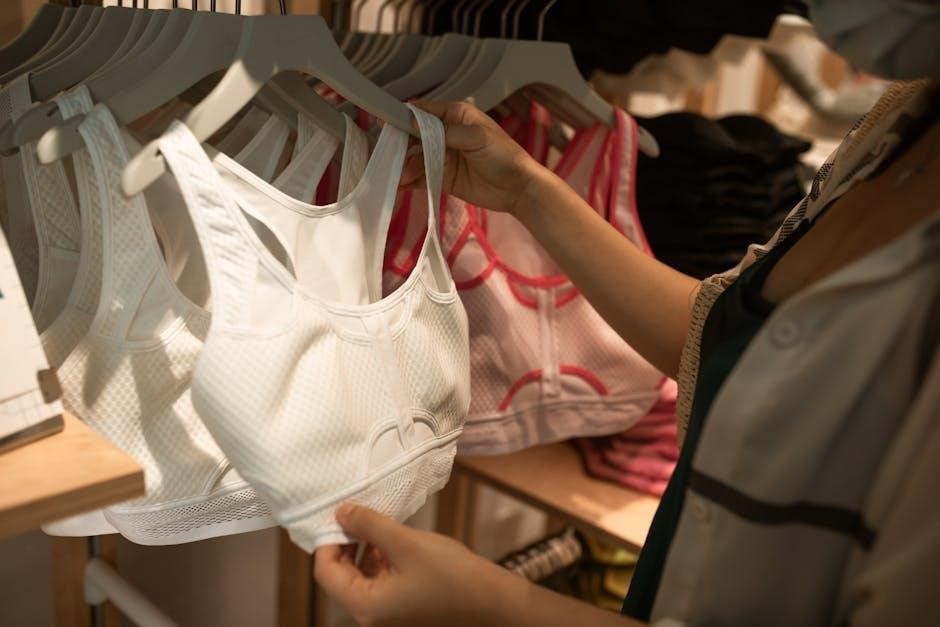
Utilizing Online Bra Calculators (With Caution)
Online bra calculators offer a convenient initial estimate‚ but should not be considered definitive. These tools utilize algorithms based on your band and bust measurements‚ providing a suggested size as a starting point for your bra journey. However‚ they often lack the nuance to account for individual breast shapes‚ tissue density‚ and personal preferences.
Calculators frequently ask for measurements taken both standing and bending over‚ recognizing the impact of gravity on bust volume. This acknowledges that your “true” size often falls between these two measurements. Remember‚ these are estimations; variations in bra construction and style also influence fit.
Treat calculator results as a guide‚ not a rule. Always prioritize a proper fitting‚ either with a professional or through careful self-assessment and trying on multiple sizes and styles. Relying solely on a calculator can lead to an ill-fitting bra‚ compromising comfort and support. Use them as a helpful first step‚ but always verify with a real-world fit check.